★★★★★
"The Lent Hills day felt almost unnecessary while we were doing it — a short walk up and back to the same camp. By summit night I understood exactly why it was there."
MARCUS T. — CANADA · JANUARY CLIMB
Our 9-day Northern Circuit, plus one more acclimatization day at Moir Hut. It's the longest itinerary we offer, built for climbers who want the highest achievable success rate and don't mind trading one extra day for it.
The route, mapped
This itinerary is identical to our 9-day Northern Circuit with one addition: a second acclimatization day at Moir Hut, hiking partway up the Lent Hills before returning to sleep at the same camp. It's not a harder trip — it's a longer, better-paced one.
Why this route
The 10-day Northern Circuit follows our 9-day itinerary exactly, with one addition: a second acclimatization day at Moir Hut, on day five. Instead of continuing straight into the northern traverse, climbers spend the morning hiking partway up the Lent Hills — to roughly 4,500 metres — before returning to sleep at Moir's 4,200 metres, a textbook "climb high, sleep low" day added to an already generous schedule.
Everything else is identical: the same quiet three-day traverse of the northern slopes, the same School Hut summit approach, the same guide team and route. The only question this page needs to answer is whether one more day and roughly $300 in additional cost is worth pushing an already-excellent success rate even higher — for most climbers considering it, the answer is yes.
Ten days and nine nights on the mountain — the maximum acclimatization time of any itinerary in our lineup.
The extra day is spent hiking high and sleeping low near Moir Hut — recovery-focused, not physically demanding.
97%+ summit success, edging past even our 9-day Northern Circuit, purely on the strength of one more acclimatization night.
Route intelligence
Every route reaches the same summit. What differs is how much time your body gets on the way there — and this itinerary gives it more than any other we run.
| Route | Duration | Success rate | Character | Crowding |
|---|---|---|---|---|
| Northern Circuit (10 days) | 10 days | 97%+ | Full circuit plus an added acclimatization day | Very low |
| Northern Circuit (9 days) | 9 days | 95%+ | Full circuit of the mountain, quietest route | Very low |
| Lemosho (8 days) | 8 days | 92–95% | Most gradual southern approach | Low, first 3 days |
| Lemosho (7 days) | 7 days | 85–90% | Gentler western approach | Low, first 2 days |
| Machame (7 days) | 7 days | 65–75% | Steep classic route, most scenic | High |
 Northern Slopes
 School Hut ·
Sunrise
School Hut ·
Sunrise Uhuru Peak
Day by day
Ten days, mapped by the elevation you'll actually stand at each night. The watch in the corner tracks your place on the mountain as you scroll — and your booking details are right here whenever you're ready.
After registration at Londorossi Gate, a short drive reaches the Lemosho trailhead at Mti Mkubwa ("Big Tree"). The first walk climbs gently through dense montane rainforest — watch for black-and-white colobus monkeys and turaco birds in the canopy.
Meet your guide and crew, then a 3.5-hour drive to Londorossi Gate for registration and park fee processing.
Gentle rainforest trail, packed earth underfoot, dense canopy overhead.
Camp already set by the crew. Dinner and a briefing on tomorrow's moorland transition.
The trail exits rainforest into heath and moorland — heather, giant lobelia, open views back toward Mount Meru on clear mornings. The path emerges onto the vast Shira Plateau, a collapsed volcanic caldera 500,000 years old.
Steady climb through heath vegetation with occasional scrambling sections.
First open views across the plateau — a landscape most climbers on other routes never see.
Kibo's summit visible on clear evenings.
A shorter, easier day crossing the plateau eastward. Gentle gain gives your body an adjustment window before day four's turn north, away from the routes everyone else follows.
Rolling terrain, volcanic rock formations, endemic alpine-desert plants.
Free afternoon for rest, short acclimatization walks, and photography.
The day this itinerary diverges from every southern-approach route. Instead of turning toward Lava Tower and the busy Southern Circuit, the trail heads north around the Lent Hills into a rarely-visited valley below Kibo's northwestern slopes.
Rolling alpine desert terrain, with the crowds of the Southern Circuit left behind entirely.
A small, quiet camp in a volcanic valley — base for tomorrow's added acclimatization day.
The day that separates this itinerary from our 9-day version. A day hike up the Lent Hills to roughly 4,500 metres — well above tonight's sleeping altitude — before returning to Moir Hut for a second night. A textbook "climb high, sleep low" day, added purely for extra acclimatization.
Gradual climb on volcanic scree, with wide views back across the Shira Plateau and toward Kibo.
The day's high point — well above Moir Hut's altitude, exactly the exposure the body needs.
Free afternoon for rest and recovery before the northern traverse continues tomorrow.
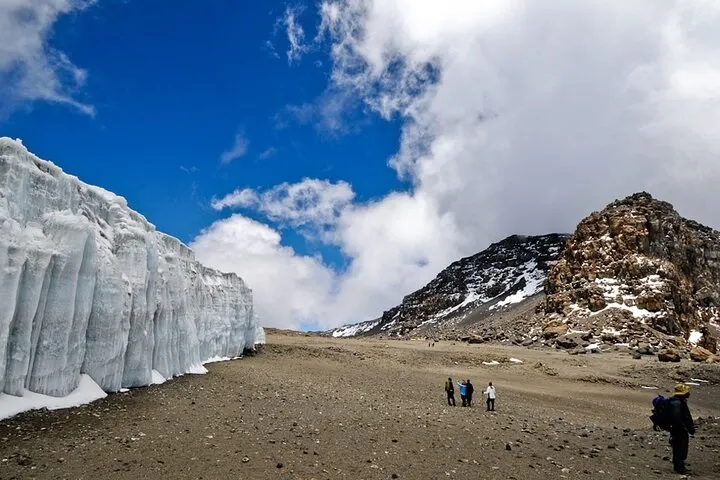
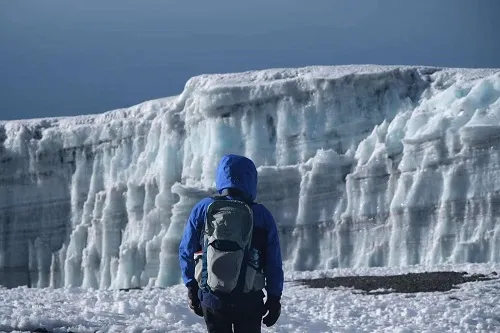
A long traverse across Kilimanjaro's remote northern slopes, on the side of the mountain bordering Kenya. This stretch sees only a handful of climbers per week — wide open alpine desert with almost no other trekking groups in sight.
Long, gently undulating alpine desert crossing, with views toward the Kenyan plains on clear days.
One of the quietest camps on the mountain — the name comes from occasional buffalo tracks in the area, though sightings are rare at this altitude.
A gently undulating day continuing the northern traverse, with Kibo's summit slowly coming back into view as the trail begins curving east toward the final approach.
Rolling alpine desert, gradually curving toward the mountain's northeastern flank.
Named for a rock shelter nearby — another quiet, rarely-crowded camp.
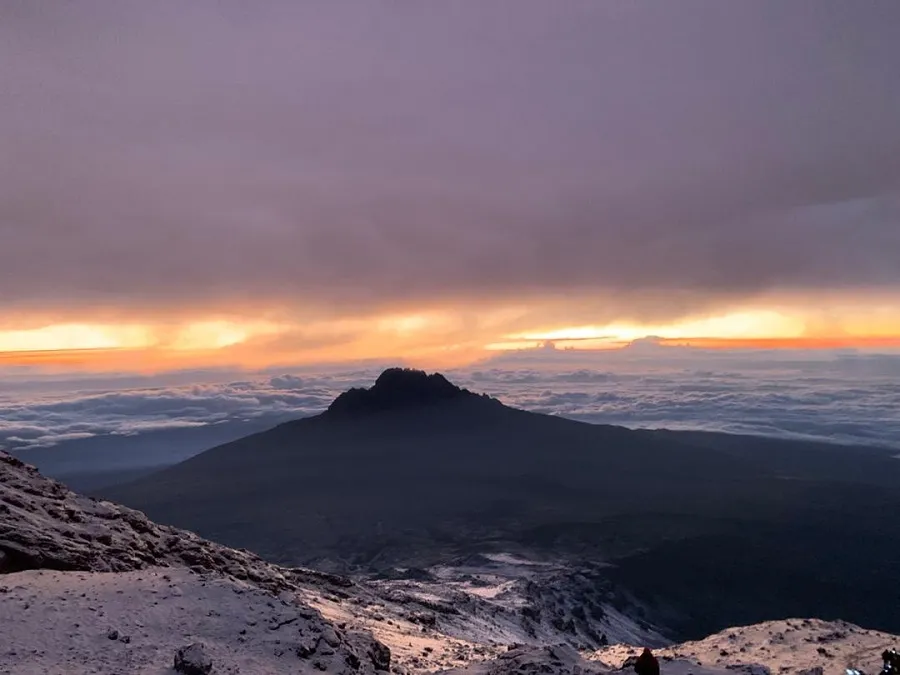
The final approach day, climbing to School Hut on Kibo's northeastern flank — the launch point for summit night on this route, and higher than Barafu Camp used by the Southern Circuit routes.
Steeper alpine desert terrain, with the summit dome clearly visible ahead for most of the day.
Rest, gear check, and an early dinner ahead of a midnight departure.
The day the whole itinerary has been building toward. A midnight departure under headlamp climbs the shorter northeastern approach to Gillman's Point, then along the crater rim to Uhuru Peak for sunrise. A long descent to Mweka Camp follows the same day, crossing back onto the Southern Circuit's descent trail.
By summit night, climbers on this route have spent an additional night of high-altitude adjustment beyond even our 9-day version — the direct result of day five's Lent Hills hike. That extra margin is what pushes an already-strong 95%+ success rate to 97%+.
Full layering system on. Slow, deliberate "pole pole" pace set by the guide — the northeastern approach is shorter than the Barafu route but still steep.
Gillman's Point (5,681 m) meets the crater rim; a further 1.5–2 hours along the rim reaches Uhuru Peak for sunrise.
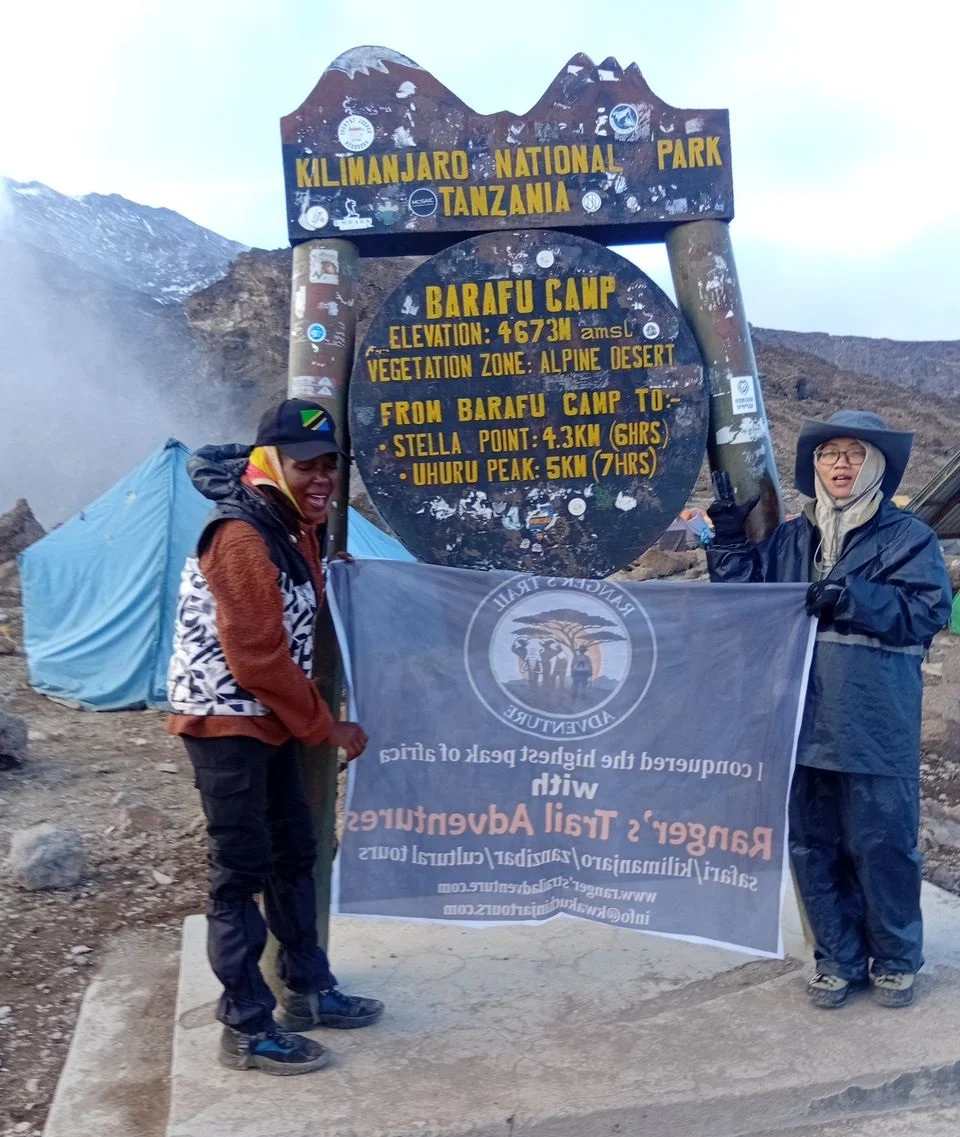
Descent crosses onto the Southern Circuit's Barafu-to-Mweka trail for a rest stop and late breakfast, then continues down to Mweka Camp.
A final, easy descent through rainforest to Mweka Gate, where you'll receive your summit certificate. A short transfer returns you to your Moshi hotel by early afternoon.
Muddy, root-covered rainforest trail, noticeably warmer with every hundred metres.
Gold certificates for Uhuru Peak; green for Stella or Gillman's Point.
End of climb services. Asante sana — thank you for climbing with us.
Camping tiers
Identical itinerary across all three — the difference is camping equipment, crew ratio, and support.
What's covered
Preparation
Temperatures span 30°C at the gate to -20°C on summit night. Layering, not any single item, is what gets you through it. With ten days on the mountain, durable, well broken-in gear matters more here than on any shorter route. Full kit list and rental options sent after booking.
When to climb
| Months | Conditions | Rating | Notes |
|---|---|---|---|
| Jan – Mar | Dry, cold summit | Excellent | Clear skies, colder nights, fewer climbers |
| Apr – May | Long rains | Avoid | Heaviest rainfall, low visibility, muddy trails |
| Jun | Drying out | Good | Transitional — trails firming, fewer crowds |
| Jul – Oct | Dry, peak season | Excellent | Clearest views — still the quietest route even now |
| Nov | Short rains | Fair | Brief afternoon showers, quiet, lush |
| Dec | Drying out | Good | Holiday season, conditions improving |
In their words
"The Lent Hills day felt almost unnecessary while we were doing it — a short walk up and back to the same camp. By summit night I understood exactly why it was there."
"Ten days sounded like a lot until we were on the mountain. Every day felt purposeful, not padded — and the northern slopes were genuinely one of the best wilderness experiences I've had."
"We chose 10 days specifically because it was the safest option available. Every one of our group of eight summited without a single case of serious altitude sickness."
Expert answers