★★★★★
"We had six days off work, not seven, and the guide talked us through exactly what changes on day two. It was a long walk, but nothing our training hadn't prepared us for."
JAMES O. — UNITED KINGDOM · AUGUST CLIMB
The 7-day Lemosho Route keeps every acclimatization stage that matters — the Lava Tower loop, the Barranco Wall, the Karanga staging day — and saves a single night on the mountain by combining the Shira Plateau crossing into one longer day.
The route, mapped
The 7-day Lemosho Route folds the two-day Shira Plateau crossing into a single longer day, then keeps the "climb high, sleep low" loop through Lava Tower, Barranco, and Karanga fully intact — the same structure that gives Lemosho its reputation, in one fewer night on the mountain.
Why this route
The Lemosho Route starts on Kilimanjaro's remote western flank, near the Tanzania–Kenya border, and joins the same final summit approach as the busier Machame Route. Our 7-day version follows the identical path as our 8-day itinerary, with one structural change: day two covers the ground that the 8-day version splits across Shira 1 and Shira 2 camps, climbing straight through in a single 6-to-7-hour push.
Everything that actually drives Lemosho's high success rate — the detour up to Lava Tower at 4,630 m, the descent into Barranco, the short staging days at Karanga and Barafu — stays exactly as planned. This is the itinerary for climbers who are confident in their fitness, want to keep trip costs and park fees to one fewer night, and would rather trek a longer day two than add a whole extra day to their travel schedule.
Identical trailhead, identical summit approach, identical crew — just the Shira Plateau crossing combined into a single day.
Day three still rises to Lava Tower at 4,630 m — higher than Barafu camp — before dropping back down to sleep at Barranco.
The Barranco Wall scramble is hands-on-rock, not roped climbing. No mountaineering experience required, ever.
Route intelligence
Every route reaches the same summit. What differs is how much time your body gets on the way there — and that shows up directly in success rates.
| Route | Duration | Success rate | Character | Crowding |
|---|---|---|---|---|
| Lemosho (7 days) | 7 days | 85–90% | 5 zones, one longer trekking day | Low, first 2 days |
| Lemosho (8 days) | 8 days | 92–95% | Most gradual, extra acclimatization night | Low, first 3 days |
| Machame | 6–7 days | 65–75% | Steep, scenic, busy | High |
| Marangu | 5–6 days | ~45% | Same trail up and down | Moderate |
| Rongai | 6–7 days | 70–75% | Dry, quiet, northern side | Low |
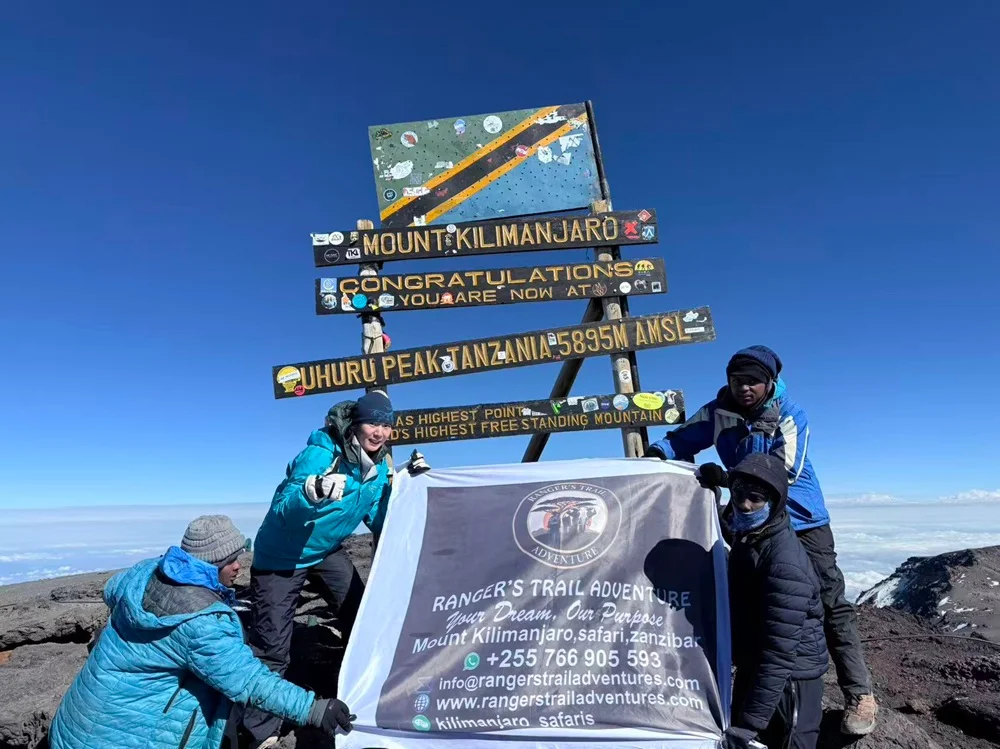 Shira Plateau
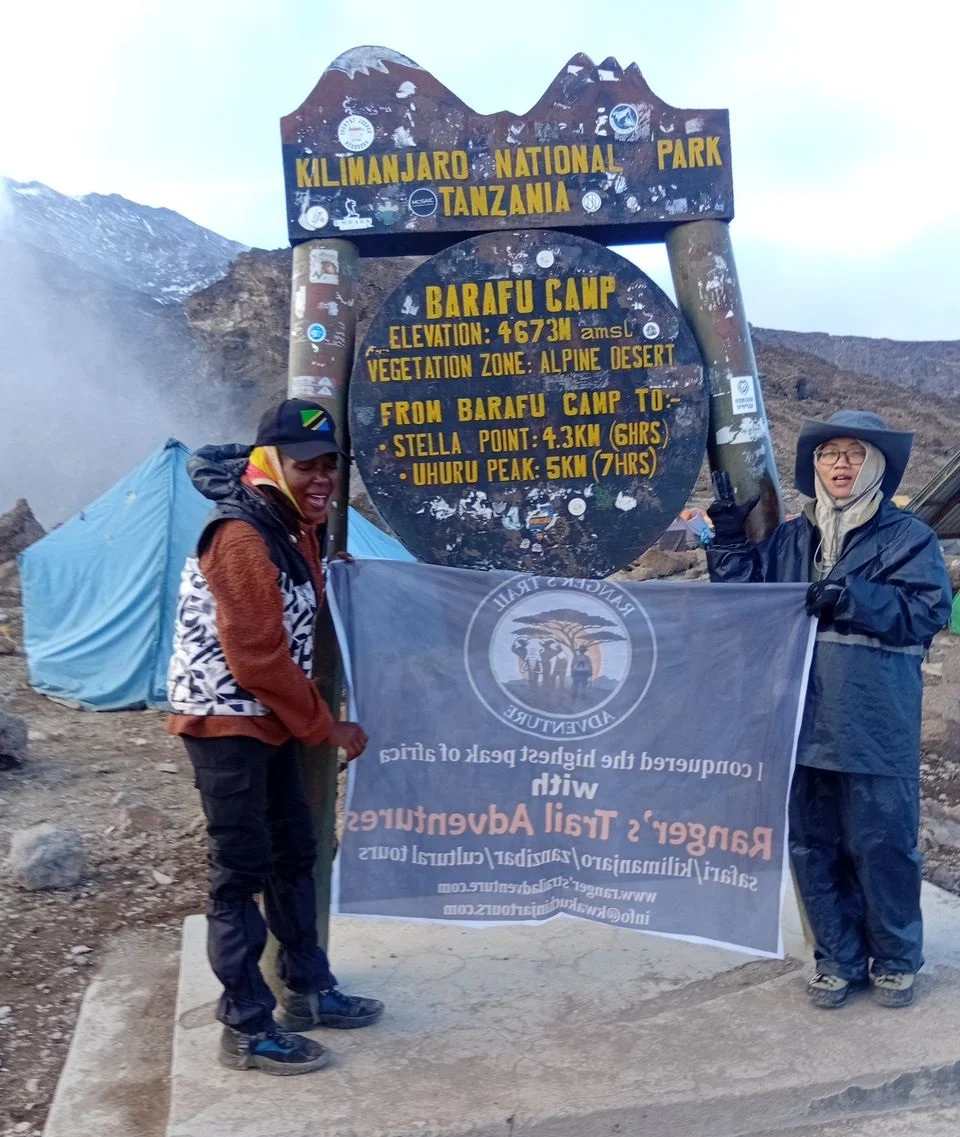 Barafu ·
Sunrise
Barafu ·
Sunrise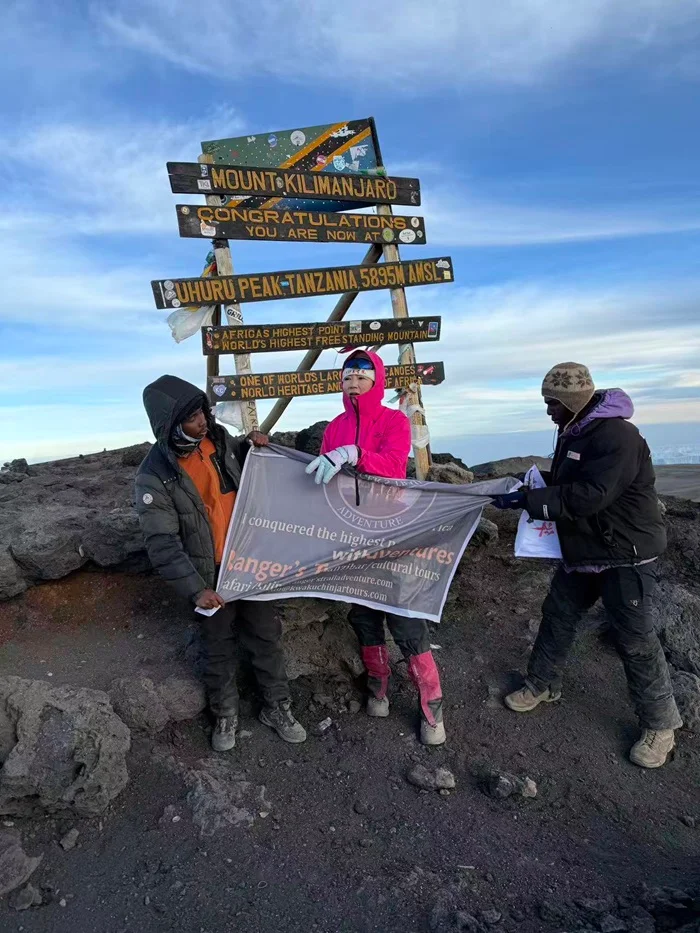 Uhuru
Peak
Uhuru
PeakDay by day
Seven days, mapped by the elevation you'll actually stand at each night. The watch in the corner tracks your place on the mountain as you scroll.
After registration at Lemosho Gate, a short drive reaches the Lemosho trailhead at Mti Mkubwa ("Big Tree"). The first walk climbs gently through dense montane rainforest — watch for black-and-white colobus monkeys and turaco birds in the canopy.
Meet your guide and crew, then a 3.5-hour drive to Lemosho Gate for registration and park fee processing.
Gentle rainforest trail, packed earth underfoot, dense canopy overhead.
Camp already set by the crew. Dinner and a briefing on tomorrow's longer moorland day.
The longest day of the 7-day itinerary, and the one that makes the shorter schedule possible. The trail exits rainforest into heath and moorland, then keeps climbing across the vast Shira Plateau — a collapsed volcanic caldera 500,000 years old — all the way to Shira 2 Camp, where the 8-day version stops for a second night at Shira 1.
Steady climb through heath vegetation with occasional scrambling sections.
Open views across the plateau — a landscape most climbers on other routes never see.
Kibo's summit visible on clear evenings. A longer day, but well within reach at a steady pace.
The textbook "climb high, sleep low" day, unchanged from the 8-day itinerary. The trail rises to Lava Tower at 4,630 m — higher than the final Barafu camp — for lunch, then descends 670 m into the lush Barranco Valley. This single day still does more for summit odds than any other on the route.
Steady, rocky ascent into alpine desert. Thinning air becomes noticeable — pace deliberately slows.
A volcanic plug 90 m above the surrounding terrain — the acclimatization peak before summit night.
Dramatic descent past giant senecio plants, camping beneath the imposing Barranco Wall.
The famous Barranco Wall — a 257-metre scramble that looks intimidating from camp but is a straightforward hands-on-rock climb, no technical gear required. The rest of the day undulates across the Southern Circuit toward Karanga.
A 1–2 hour scramble with hands-on-rock sections; guides assist at exposed points.
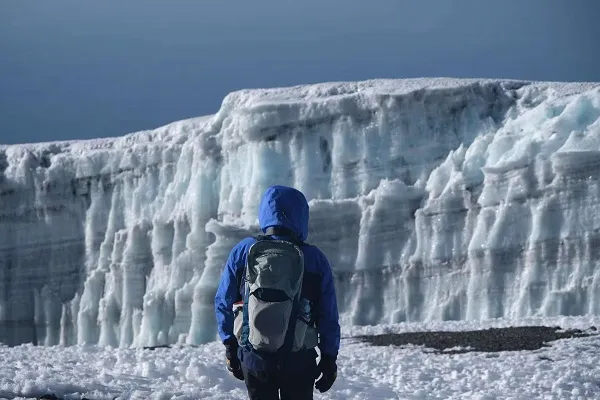
Ridge-and-valley terrain with excellent views of the summit glaciers.
Short day, deliberately, ahead of tomorrow's push to Barafu.
A short, deliberately easy day to Barafu ("Ice") Camp, the final base before the summit push. The afternoon is for rest, gear checks, an early dinner, and sleep before an 11pm–midnight wake-up.
Barren, rocky alpine desert. First direct views of the summit route ahead.
Guide reviews summit-night layering, headlamp checks, and timing. Early dinner around 17:00.
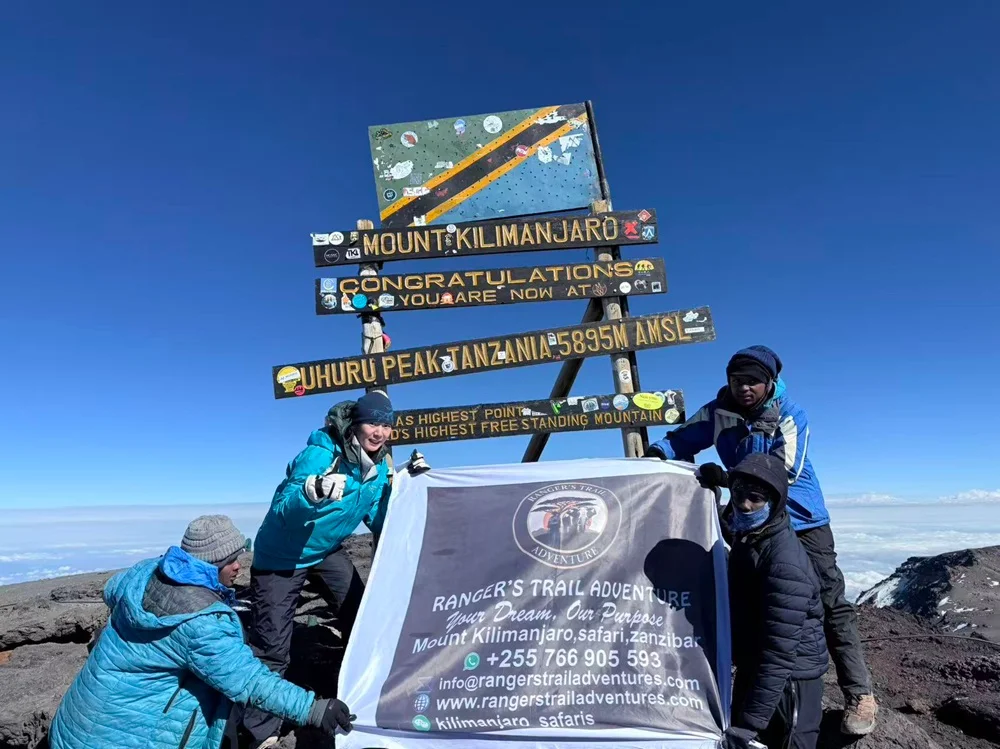
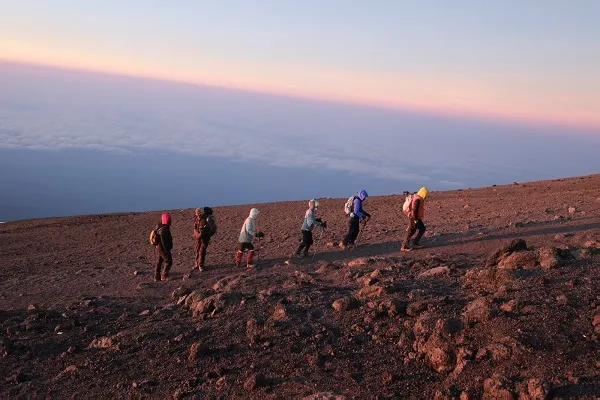
The day the whole itinerary has been building toward. A midnight departure under headlamp climbs steep scree switchbacks to Stella Point on the crater rim, then glacier-lined trail to Uhuru Peak for sunrise — Africa's highest point. A long descent to Mweka Camp follows the same day.
By the time summit night arrives, this itinerary has completed the same Lava Tower loop, the same Barranco Wall, and the same Karanga-to-Barafu staging as the 8-day version. The one fewer camp comes out of day two's longer walk, not out of the acclimatization that matters most on summit night.
Full layering system on. Slow, deliberate "pole pole" pace set by the guide — deliberate, not a limitation.
Stella Point (5,756 m) meets the crater rim; a further hour along the glacier edge reaches Uhuru Peak for sunrise.
Fast scree descent to Barafu for a rest and late breakfast, then down through changing vegetation to Mweka Camp.
A final, easy descent through rainforest to Mweka Gate, where you'll receive your summit certificate. A short transfer returns you to your Moshi hotel by early afternoon.
Muddy, root-covered rainforest trail, noticeably warmer with every hundred metres.
Gold certificates for Uhuru Peak; green for Stella or Gillman's Point.
End of climb services. Asante sana — thank you for climbing with us.
Camping tiers
Identical itinerary across all three — the difference is camping equipment, crew ratio, and support.
What's covered
Preparation
Temperatures span 30°C at the gate to -20°C on summit night. Layering, not any single item, is what gets you through it. Full kit list and rental options sent after booking.
When to climb
| Months | Conditions | Rating | Notes |
|---|---|---|---|
| Jan – Mar | Dry, cold summit | Excellent | Clear skies, colder nights, fewer climbers |
| Apr – May | Long rains | Avoid | Heaviest rainfall, low visibility, muddy trails |
| Jun | Drying out | Good | Transitional — trails firming, fewer crowds |
| Jul – Oct | Dry, peak season | Excellent | Clearest views, busiest trails |
| Nov | Short rains | Fair | Brief afternoon showers, quiet, lush |
| Dec | Drying out | Good | Holiday season, conditions improving |
In their words
"We had six days off work, not seven, and the guide talked us through exactly what changes on day two. It was a long walk, but nothing our training hadn't prepared us for."
"Standing at Uhuru Peak at sunrise, above the clouds — I still think about that hour most weeks. Our guide's pacing on summit night was the difference between suffering and experiencing it."
"I researched the 7 versus 8 day debate for weeks. In practice the extra distance on day two barely registered next to how well-rested we were for the Lava Tower day that followed."
Expert answers